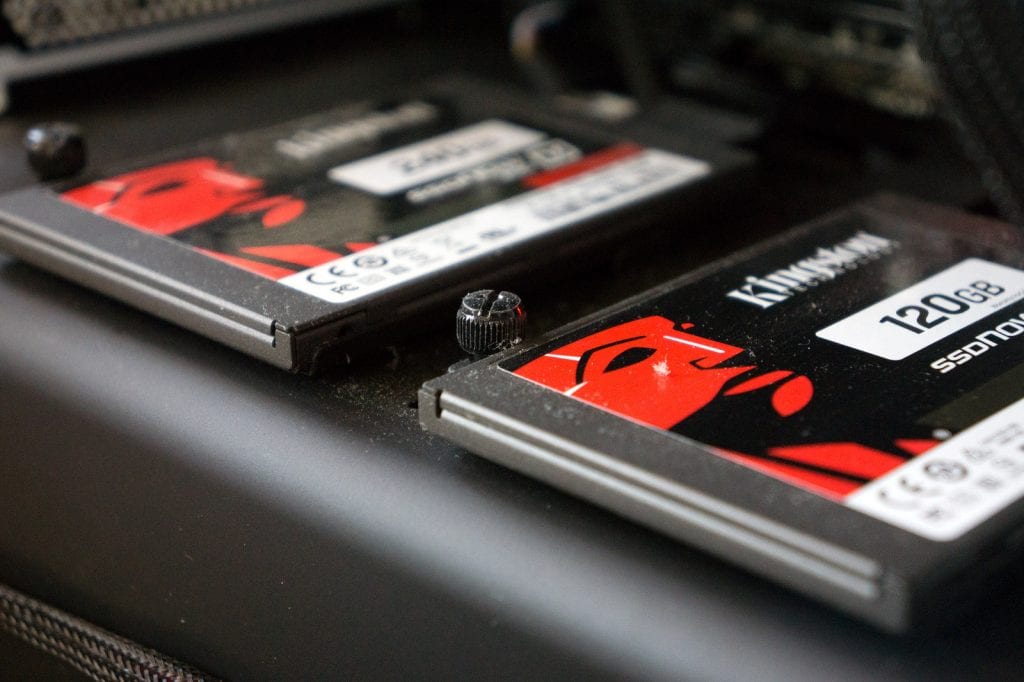
A Solid State Drive (SSD) is a type of storage device that uses NAND-based flash memory to store data. SSDs are similar to traditional hard disk drives (HDDs) in that they allow you to store files and data, but they have several key differences.
Unlike HDDs, SSDs have no moving parts, which makes them more durable, faster, and quieter. SSDs also have faster read and write speeds, which can significantly improve the overall performance of a computer or laptop.
Solid-state drives (SSDs) are a popular storage solution due to their faster read and write speeds compared to traditional hard disk drives (HDDs). However, like any hardware, SSDs can experience decreased performance over time. In this article, we’ll discuss how to optimize your SSD for better performance.

1. Enable TRIM
TRIM is a command that allows an operating system to inform an SSD that blocks of data are no longer in use and can be erased. This helps the SSD to maintain optimal performance by preventing it from writing data to used blocks. TRIM is supported by most modern operating systems, including Windows, macOS, and Linux.
To enable TRIM on Windows, open Command Prompt with administrative privileges and enter the following command:
- Press the Windows key + R to open the Run dialog box.
- Type “cmd” into the box and press Enter to open the Command Prompt.
- Type “fsutil behavior query DisableDeleteNotify” into the Command Prompt and press Enter. If the result is “0,” TRIM is already enabled on your SSD. If the result is “1,” TRIM is currently disabled.
- If TRIM is disabled, type “fsutil behavior set DisableDeleteNotify 0” into the Command Prompt and press Enter.
- Close the Command Prompt and restart your computer.
Once your computer has restarted, TRIM should be enabled on your SSD.
2. Update SSD Firmware
SSD manufacturers often release firmware updates to improve performance and fix bugs. These updates can be downloaded from the manufacturer’s website and applied using a firmware updater tool. Before updating firmware, make sure to back up all important data on the SSD.
3. Disable Disk Defragmentation
Disk defragmentation is a process that reorganizes the data on a hard drive to improve read and write speeds. However, SSDs don’t require defragmentation as they don’t have physical read/write heads. In fact, defragmentation can decrease the lifespan of an SSD. To disable disk defragmentation on Windows, follow these steps:
- Open the Start menu and search for “defragment”.
- Click on “Defragment and Optimize Drives”.
- Select the SSD and click on “Change Settings”.
- Uncheck “Run on a schedule” and click on “OK”.
4. Disable Hibernation
Hibernation is a feature that saves the current state of the computer to the hard drive before shutting down. This allows the computer to resume from where it left off when powered on again. However, hibernation writes a large amount of data to the SSD, which can decrease its lifespan. To disable hibernation on Windows, follow these steps:
- Open Command Prompt with administrative privileges and enter the following command:
powercfg -h off
- Press Enter and exit Command Prompt.
5. Disable Superfetch and Prefetch
Superfetch and Prefetch are services in Windows that learn which applications are used most frequently and preload them into memory to improve performance. However, these services can use a significant amount of SSD resources. To disable Superfetch and Prefetch on Windows, follow these steps:
- Open the Start menu and search for “services”.
- Click on “Services”.
- Scroll down and right-click on “Superfetch”.
- Select “Properties”.
- Click on “Stop”.
- Set “Startup type” to “Disabled”.
- Repeat steps 3-6 for “Prefetch”.
6. Disable indexing
Indexing is a feature in Windows that creates a searchable database of files on the computer for faster searches. However, indexing can use a significant amount of SSD resources. To disable indexing on Windows, follow these steps:
- Open File Explorer and right-click on the SSD drive.
- Select “Properties”.
- Uncheck “Allow files on this drive to have contents indexed in addition to file properties”.
- Click on “Apply” and “OK”.
7. Move Page File to Another Drive
The page file, also known as the virtual memory, is a file that Windows uses to store data when it runs out of physical memory. By default, Windows places the page file on the same drive as the operating system. However, this can slow down your SSD as it constantly writes and reads data. It’s recommended to move the page file to another drive to improve your SSD’s performance.
8. Keep Your SSD Clean
Keeping your SSD clean and free from dust and debris can help improve its performance and lifespan. Use a soft, dry cloth to clean the SSD, and avoid using any cleaning agents.
Optimizing your SSD can help you get the most out of your computer and ensure that your SSD lasts longer. By following these tips, you can improve the performance of your SSD and make your computer run faster.
Bijay Pokharel
Related posts
Recent Posts
Subscribe

Cybersecurity Newsletter
You have Successfully Subscribed!
Sign up for cybersecurity newsletter and get latest news updates delivered straight to your inbox. You are also consenting to our Privacy Policy and Terms of Use.


